

What Is the Correct Air Pressure Setting for a Yarn Suction Gun For Spandex to Ensure Smooth Feeding
2026-07-08
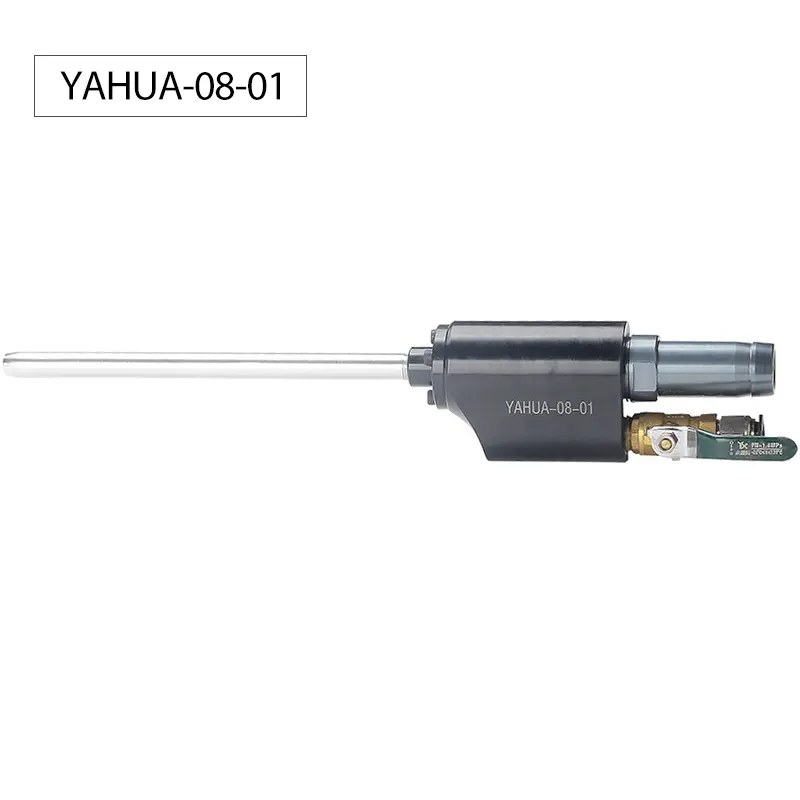
In textile manufacturing, few tools are as critical yet misunderstood as the Yarn Suction Gun For Spandex. This pneumatic device is responsible for drawing elastic yarns through machine guides, splicing broken ends, and clearing tangled threads during high-speed knitting or weaving. However, when the air pressure is miscalibrated, spandex—with its high elongation and low modulus—can overstretch, snap, or feed inconsistently. At YAHUA, we have tested thousands of production lines and found that the correct pressure setting is not a fixed number but a variable dependent on yarn denier, hose length, and nozzle type. This guide establishes a professional framework for identifying your optimal PSI range while maintaining equipment longevity.
The Science Behind Pressure and Spandex Behavior
Spandex yarns are extremely sensitive to sudden airflow. Excessive pressure (above 5.5 bar) creates turbulent vortices that cause filament fusion or “bird-nesting,” while insufficient pressure (below 2.0 bar) fails to generate enough suction to overcome the yarn’s intrinsic friction. The Yarn Suction Gun For Spandex operates on a Venturi principle—compressed air converts into a vacuum that pulls the yarn forward. The ideal balance ensures the yarn travels at a speed matching the take-up roller without tension spikes.
| Yarn Denier Range | Recommended Pressure (bar) | Nozzle Diameter (mm) | Typical Application |
|---|---|---|---|
| 20 – 40 D | 2.2 – 2.8 | 1.2 – 1.5 | Fine-gauge hosiery |
| 40 – 70 D | 2.8 – 3.5 | 1.5 – 1.8 | Warp knitting |
| 70 – 140 D | 3.5 – 4.2 | 1.8 – 2.2 | Circular weft knitting |
| 140 – 280 D | 4.2 – 5.0 | 2.2 – 2.8 | Heavy elastic tapes |
Step-by-Step Calibration Protocol
YAHUA recommends a dynamic calibration approach rather than relying on machine placards. Follow this five-step sequence:
-
Set baseline pressure at 3.0 bar for mid-range (70D) spandex.
-
Feed a 2-meter yarn sample through the Yarn Suction Gun For Spandex at a 45° entry angle.
-
Observe the tail trajectory – a straight, steady stream indicates correct pressure; a whipping tail signals excess; a drooping tail means too low.
-
Adjust in 0.2-bar increments until the yarn passes through the ceramic eyelet without resistance.
-
Lock the regulator and test 20 consecutive splices – if more than 2 fail, re-evaluate hose diameter (use 8mm ID for runs under 5 meters, 10mm ID for longer distances).
Common Pressure-Related Defects and Corrections
| Symptom | Root Cause | Corrective Action |
|---|---|---|
| Yarn fuzz or broken filaments | Pressure > 4.5 bar with small nozzle | Reduce to 3.2 bar or change to 2.0mm nozzle |
| Inconsistent loop length | Fluctuating supply pressure (±0.5 bar) | Install a precision regulator with filter |
| Suction gun whistling or vibrating | Obstructed silencer or moisture in air | Drain condensate and clean muffler |
| Yarn slips back after suction stops | Pressure < 2.0 bar for denier > 100D | Increase to 4.0 bar and shorten air hose |
Yarn Suction Gun For Spandex FAQ – Expert Answers
Q1: Can I use the same air pressure setting for all spandex yarns regardless of brand or dye-lot?
A: No. Even within the same denier, different spandex producers apply varying spin-finish oils, which alter the coefficient of friction. A Yarn Suction Gun For Spandex reacts to these surface variations. For instance, a yarn with a higher oil pickup (≥4%) may require a 0.3-bar increase to overcome stickiness. Always re-calibrate when changing lots, and document the optimal pressure per supplier. YAHUA provides a logbook template with every gun unit to track these parameters per batch.
Q2: How does the length of the compressed air hose affect the actual pressure reaching my Yarn Suction Gun For Spandex?
A: Pressure drops linearly with hose length and inversely with internal diameter. For a standard 8mm ID hose, you lose approximately 0.15 bar per 5 meters at 3.5 bar inlet. If your gun is positioned 15 meters from the compressor, the effective pressure at the nozzle may be only 3.05 bar even though your regulator reads 3.5 bar. To compensate, either increase the regulator setting by 0.45 bar or upgrade to a 10mm ID hose. YAHUA offers pre-calibrated hose kits with pressure-loss charts attached to each assembly.
Q3: Why does my Yarn Suction Gun For Spandex perform perfectly in the morning but misfeed after lunch?
A: This classic symptom points to thermal drift in the compressor room. As ambient temperature rises, compressed air density decreases, reducing the mass flow rate. A 10°C increase can lower effective suction force by 5–7%. Additionally, warmer air carries more moisture, which condenses inside the gun’s Venturi cone and disrupts the vacuum. Install a refrigerated air dryer and maintain the intake air at 20–25°C. YAHUA guns include a temperature-compensated pressure gauge that gives real-time corrected readings, helping operators adjust dynamically.
Advanced Tuning for High-Speed Applications
For machines running above 800 rpm, standard settings often fail. In these cases, YAHUA engineers recommend a two-stage pressure approach: a higher “burst” pressure (4.5 bar) for the initial yarn capture, followed by an immediate drop to 3.0 bar for steady feeding. This can be achieved using a solenoid valve and a time-delay relay. The Yarn Suction Gun For Spandex must also be fitted with a wear-resistant ceramic nozzle to withstand the abrasive effect of high-velocity spandex—YAHUA’s patented zirconia-toughened nozzles extend service life by 300% compared to standard alumina types.
Practical Maintenance Schedule
| Interval | Task | Tool/Reference |
|---|---|---|
| Every shift | Check regulator gauge for creep (reading stability) | Digital manometer |
| Weekly | Clean the internal Venturi chamber with isopropanol | YAHUA cleaning kit |
| Monthly | Replace O-rings and inspect nozzle for oval wear | Gap gauge (0.05mm tolerance) |
| Quarterly | Re-calibrate pressure sensor against a master gauge | Certified calibration bench |
Final Professional Recommendation
The correct pressure setting is not a one-time discovery but a living parameter. Maintain a dedicated log for each machine position, record ambient conditions, and always start a new batch with a validation splice test. A well-tuned Yarn Suction Gun For Spandex reduces yarn waste by up to 18%, minimizes machine stops, and preserves the elastic recovery of spandex—directly improving fabric quality.
Contact Us – If you are still facing inconsistent feeding or want a customized pressure-mapping service for your specific spandex portfolio, the YAHUA technical team is ready to assist. Reach out to our application engineers with your yarn specs and machine model, and we will send you a tailored setup guide and nozzle selection chart within 24 hours. Email us directly or use the live chat on our product page—we respond to every inquiry with a real-world test report, not a generic answer. Let us help you turn your Yarn Suction Gun For Spandex into the most reliable tool on your production floor.